

Use to summarize this article


- The short answer: Map every URL in every language, import existing translations, redirect every locale, rebuild hreflang, and monitor each language separately.
- The biggest trap: Webflow 301 redirects don't cover locale subdirectories. Each locale needs its own redirect rules.
- Hreflang: Webflow generates it automatically when you use the auto-generated sitemap and turn on publishing for every locale.
- Imports: CMS content can be imported through the Data API with a locale ID for each language. Static pages and localized images need manual work.
- Agentic Translation: Use it to fill gaps, not to replace translations that already rank.
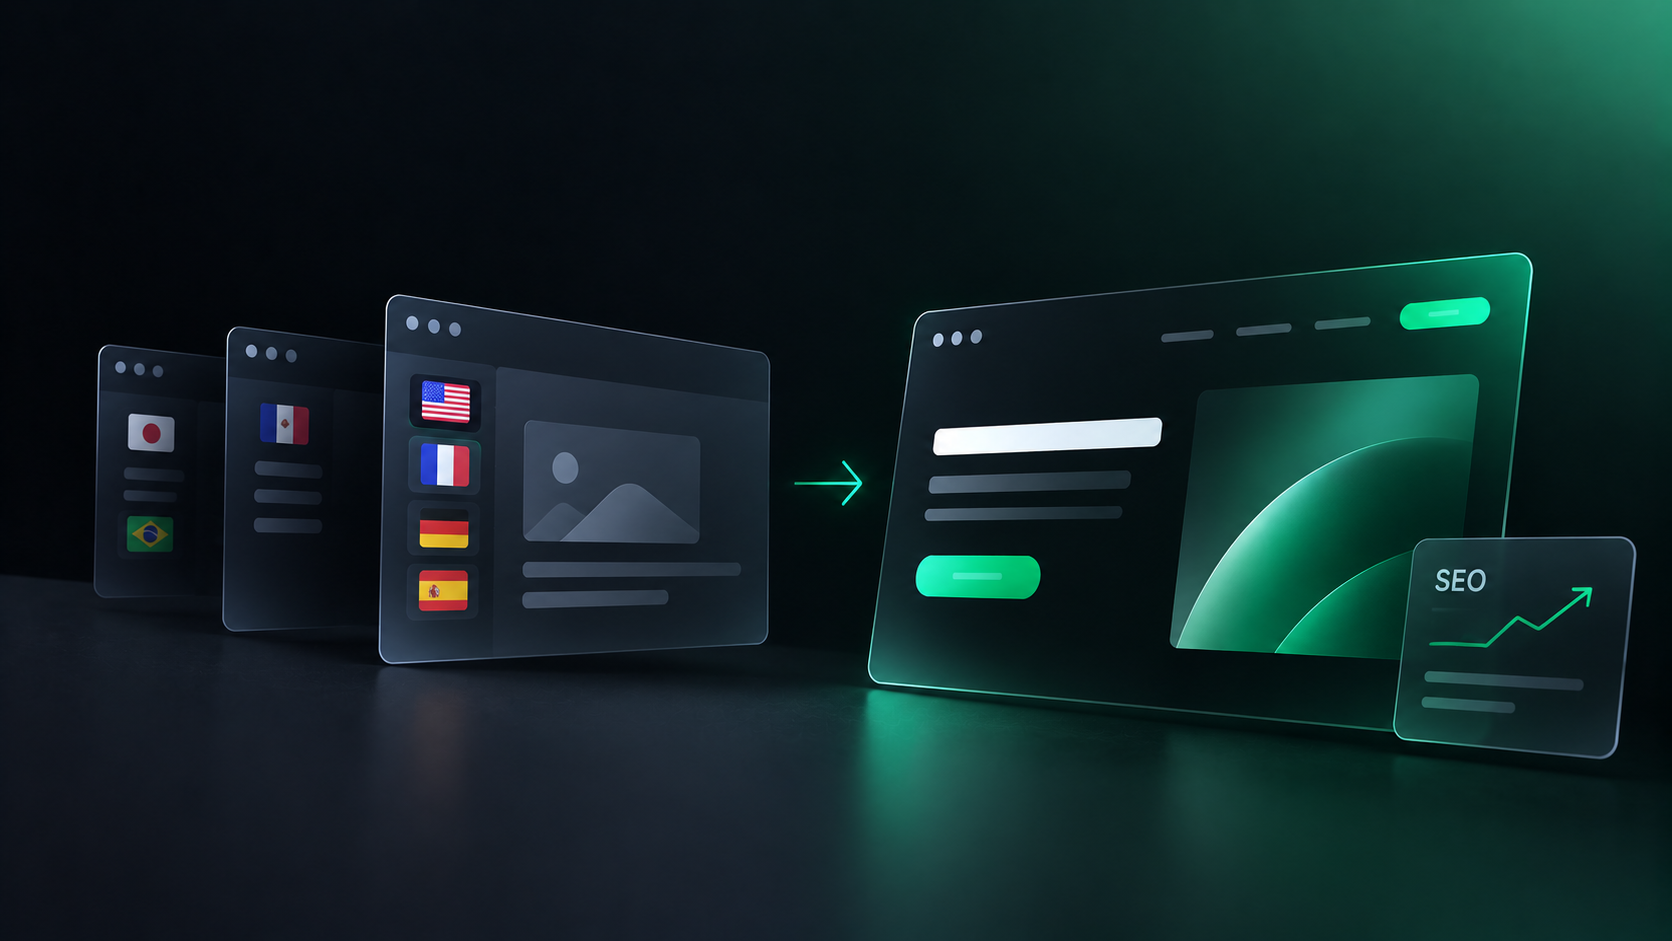
To migrate a multilingual website to Webflow without losing SEO, map every URL in every language, import your existing translations into Webflow Localize, add 301 redirects for each locale, rebuild hreflang with the final URLs, and monitor each language separately after launch.
The secondary languages are where most of the risk sits. In Webflow, redirects and SEO settings for each locale need their own setup. They don't follow the primary language automatically.
This guide covers the full process in three phases and 14 steps, plus the Webflow limits to plan around.
Need a team to run it for you? Our Webflow migration service plans every locale before a single page moves.
What makes a multilingual migration riskier than a normal one?
A multilingual migration multiplies every SEO risk by the number of languages you support. Five things break most often:
- Redirects for secondary languages. Webflow redirects don't automatically cover locale subdirectories.
- Hreflang. Old annotations point to URLs that no longer exist.
- URL structure changes. Moving from ?lang= parameters, subdomains, or country domains to Webflow's subdirectories changes every URL.
- Missing locale content. Some content can't be imported automatically, so pages launch in the wrong language.
- Monitoring. Teams check overall traffic and miss a drop in one language.
How does a multilingual Webflow migration work?
The process runs in three phases: Map, Match, and Monitor.
- Map: Audit what you have, decide your Webflow URL structure, and build a redirect map for every locale.
- Match: Rebuild the site in Webflow Localize, import your translations, and recreate every SEO signal.
- Monitor: Test every locale before launch, then track each language separately for the weeks after.
Phase 1, Map: what should you do before building in Webflow?
Before you design a single page, document everything the old site has in every language.
Step 1, benchmark every locale:
Export traffic, rankings, and top pages for each language from Search Console and your analytics tool.
Record them per locale, not as one site total. A drop in German traffic is invisible inside a healthy global number.

Step 2, crawl and export every URL by language:
Crawl the full site and export every indexable URL, grouped by language and region.
For each URL, save the page title, meta description, canonical tag, hreflang annotations, and structured data.
Save the list of URLs with backlinks too. These need the most careful redirects.
Step 3, identify your current URL structure:
Multilingual sites usually use one of four patterns:
- Parameters: example.com/page?lang=de
- Subdirectories: example.com/de/page
- Subdomains: de.example.com/page
- Country domains: example.de/page
Webflow Localize serves each locale from a subdirectory, like /de/. If your current site uses any other pattern, every secondary-language URL will change.
| Current structure | Example | In Webflow Localize | Redirects needed |
|---|---|---|---|
| Parameters | example.com/page?lang=de | example.com/de/page | Yes, for every secondary-language URL |
| Subdirectories | example.com/de/page | Same pattern | Only where slugs change |
| Subdomains | de.example.com/page | example.com/de/page | Yes, from every old subdomain URL |
| Country domains | example.de/page | example.com/de/page, or a separate Webflow site | Yes, unless you keep a separate site per domain |
Running country domains and want to keep them? Read Should You Use One Webflow Site or Multiple Sites for Global Markets? before you plan anything else.
Step 4, map every old URL to a new URL, locale by locale:
Build a spreadsheet with one row per old URL. Map each one to its closest equivalent on the new site, in the same language.
- Keep high-value URLs the same where possible. No change means no redirect risk.
- Redirect to the same language. A German page should redirect to a German page.
- Avoid cross-language redirects. Only redirect to another language if that content no longer exists in the original one.
- Avoid redirecting everything to the homepage. Send each URL to its closest match.
This map becomes your redirect list, your QA list, and your monitoring list.
When we migrated ZingHR's website, URL mapping, redirects, schema, and metadata were all planned before migration started. We delivered 22+ pages in 4 weeks.
Phase 2, Match: how do you rebuild the site in Webflow?
Phase 2 recreates your content and every SEO signal in Webflow Localize, so search engines find the same pages, in the same languages, at clearly mapped URLs.
Step 5, set up your locales in Webflow Localize:
Add a locale for every language and region you currently support.
Check your plan first. Webflow Localization Essential supports up to 3 locales, and Advanced supports up to 10.
Every secondary locale inherits your primary locale's content until you change it. So your structure is in place from day one, even before translations arrive.
Step 6, import your existing translations:
Import the translations you already have. They're the content that ranks today.
CMS content can be imported through the Webflow Data API. You can create and manage CMS items in both primary and secondary locales.
To create an item in several languages at once, the request must include a CMS locale ID for every locale you want. Miss one, and that language version won't exist.
Step 7, plan for content that can't be imported automatically:
Some content needs manual work. Plan the time for it upfront.
- Static pages. Webflow's Data API doesn't create static pages, which is why import tools like PowerImporter migrate CMS content only. Static pages are rebuilt in the Designer.
- Primary locale page content. API updates to page and component content are limited to secondary locales.
- Localized images. Webflow doesn't support updating images through its localization API. Swap per-locale images in the Designer.
Step 8, fill gaps with Agentic Translation, not replace what ranks:
Use Webflow's Agentic Translation for missing content, not for content you've already translated.
It has two modes, set per target language:
- One-time translation translates an entire language once, including page content and metadata. Your team reviews it before it goes live.
- Continuous translation keeps a locale in sync with your primary locale as content changes.
Three reasons not to re-translate migrated content:
- It ranks already. Replacing proven translations with new AI output changes the content Google has indexed.
- It costs words. Translated words count toward your plan's word limits, pooled across locales.
- It can be excluded. Exclusion rules keep specific pages, components, CMS fields, and component props out of translation. Excluded content is never sent to an AI model.
Turning on continuous translation after launch? Set your glossary, tone, and exclusion rules first. Our guide to Webflow Agentic Translation covers the setup.
Step 9, recreate localized slugs and metadata:
Every locale needs its own SEO title, meta description, and Open Graph settings. Copy them from your Step 2 export, not from the primary locale.
Translated slugs, like /de/preise instead of /de/pricing, need the right plan. Collection slug translation is available on Advanced and Enterprise Localize plans.
If your current translated slugs rank, recreate them exactly. A slug change is a URL change.
Step 10, add 301 redirects for every locale:
Webflow's 301 redirects are relative to your root domain and don't apply to localized slugs or subdirectories. A redirect from /old-page to /new-page won't cover /de/old-page.
So every locale needs its own redirect rules.
Webflow redirect rules to know:
- Use wildcards where you can. A capture group like /de/blog/(.*) redirects a whole folder in one rule.
- Wildcards aren't full regex. You can't exclude a specific page from a wildcard rule.
- Order matters. Redirects run in the order they were added, so add specific rules before broad wildcards.
- Keep the total manageable. Webflow has no hard limit, but recommends 1,000 redirects maximum for performance.
- Test on the live domain. Use a private browser window, since browsers cache redirects.
Step 11, confirm hreflang and canonicals:
Webflow Localize handles hreflang for you, with two conditions.
According to Webflow's localized SEO guide, you can use page-level hreflang tags, sitemap hreflang tags, or both. Webflow updates them automatically when you publish.
The two conditions:
- Use the auto-generated sitemap. If you use a custom sitemap, you have to add hreflang tags manually for every page.
- Turn on publishing for every locale. Only locale subdirectories with publishing enabled appear in the auto-generated sitemap.
Webflow also sets the HTML lang tag for each locale automatically.
Canonical rules for multilingual pages:
- Each locale should canonicalize to itself. The German page is the canonical German page.
- Never canonicalize across languages. Pointing /de/ pages to English canonicals tells Google to ignore the German version.
- Same-language duplicates are the exception. If two URLs show the same content in the same language, Google recommends picking a preferred version with canonical and hreflang tags.
Hreflang and Canonical Check
- Auto-generated sitemap turned on in Webflow
- Publishing enabled for every locale subdirectory
- Hreflang on each page lists every language version, including itself
- Self-referencing canonicals on every locale
- No cross-language canonicals pointing secondary pages to English
- HTML lang tag matches the language of each locale

Phase 3, Monitor: what should you check before and after launch?
Test every locale on staging before you switch DNS. Then track each language separately until Google has re-crawled the new site.
Step 12, QA every locale before launch:
Use your Step 4 URL map as the test list.
- Redirects: Test a sample from every locale, including old parameter and subdomain URLs.
- Hreflang: Spot-check key pages in every language. Each version should list every other version, including itself.
- Metadata: Confirm titles and descriptions are localized, not copied from English.
- Locale switcher: Check that it links to the same page in the other language, not the homepage.
- Internal links: Make sure German pages link to German pages.
- Indexing blocks: Remove any noindex tags or robots.txt blocks used during staging.
Step 13, monitor Search Console by locale:
Google treats a site move on a per-URL basis. Googlebot has to visit every URL on your old and new site at least once before the move is complete.
Rankings can move for a few weeks while that happens. Track the trend in each language, not day-to-day changes.
- Compare traffic and rankings per locale against your Step 1 benchmark.
- Watch the indexing report for each language's URLs.
- Check for 404s, especially on old secondary-language URLs.
- Fix missing redirects as soon as they show up.
Step 14, re-check your AI search visibility:
Ask ChatGPT, Perplexity, and Google AI Overviews the key questions your pages used to answer, in each language.
If a page used to be cited and no longer is, check its redirect, its indexing, and whether the answer still appears clearly on the new page.
Can a Webflow migration affect AI search visibility?
Yes. AI search engines can only cite pages they can find and understand, and a migration changes both.
A broken redirect or a missing locale means the page can't be found. A rewritten page may no longer contain the answer an AI engine used to quote.
How to protect AI visibility during a multilingual migration:
- Keep answer-first content. If a section opened with a direct answer before, keep that answer near the top.
- Keep entity names consistent. Brand and product names should match across every language. Webflow's glossary helps with this.
- Keep every locale live and current. A locale that launches half-translated gives AI engines less to cite.
- Keep structured data. Recreate FAQ, article, and organization schema on every locale.
Our SEO and AEO team checks rankings and AI visibility as part of every migration.
What can't Webflow migrate automatically?
Webflow handles a lot of multilingual SEO natively, but some things always need planning:
- Static pages can't be created through the Data API. Rebuild them in the Designer.
- Localized images can't be updated through the localization API.
- Primary locale page content can't be updated through the API. Only secondary locales can.
- Redirects for secondary languages aren't automatic. Each locale needs its own rules.
- Country domains per locale aren't native to Webflow Localize, which uses subdirectories.
- Custom sitemaps need hreflang added by hand.
Plan time for each of these in your migration timeline.
Multilingual Webflow migration checklist
Before you build:
- Benchmark traffic and rankings for every locale.
- Crawl and export every URL, title, description, canonical, and hreflang tag.
- Record your current URL structure for each language.
- Map every old URL to a new URL in the same language.
While you build:
- Add every locale in Webflow Localize, on a plan that supports enough locales.
- Import existing translations, with a CMS locale ID for every language.
- Rebuild static pages and swap localized images in the Designer.
- Use Agentic Translation only for gaps, with exclusion rules set.
- Recreate localized slugs, titles, descriptions, and Open Graph data.
- Add 301 redirects for every locale, specific rules first.
- Use the auto-generated sitemap and turn on publishing for every locale.
After launch:
- Remove staging noindex tags and robots.txt blocks.
- Test redirects, hreflang, and the locale switcher in every language.
- Monitor Search Console, indexing, and 404s per locale.
- Re-check key AI search answers in each language.
The bottom line
A multilingual migration to Webflow protects SEO when every language gets the same care as the primary one.
Webflow Localize handles hreflang, the HTML lang tag, and localized sitemaps for you. Redirects, imports, and QA are still on your team.
Migrating from a specific platform? Read our guides for Sitecore, Drupal, Contentful, and WordPress, or start with our SEO-safe Webflow migration checklist.
Planning a multilingual move? Talk to Flowtrix. Our migration team maps every locale before launch.
FAQ's
The most common questions teams ask before moving a multilingual website to Webflow.






.webp)





.svg)

.svg)



%201.svg)


.svg)
.svg)